Can you tell I'm not a winter person? I didn't realise when we came to Canada back in 1967 just how much the far north got! I'd learned about it during Geography in school, but just didn't "get it" how much came each and every winter! Sigh...I'm not entirely Canadianised yet I guess.
I've got some fun stuff to share with you today, along with some of the samples of what the ladies did in the second gifty class. I showed them how what they learned last Thursday night could bebuilt onto make another larger gift and they loved it so much they asked me to share the instructions on the blog. I can't take credit for it, I saw it on Jennifer McGuires blog and the timing was just right as we were making a mini one in class. A mini what you say? A pinwheel and it was great to see how this technique which some of the ladies had tried themselves somewhat unsuccessfully in the past, magically worked for them with a little instruction on Thursday night.

This is
what we made on Thursday along with two other gifts, but this is what I'm focusing on. By die cutting 10 (five for the front and five for the back) Christmas ornament shapes with a pinwheel on the front and back, we made this lovely ornament to gift to a friend. Not only that,
we worked again on how to make boxes, so that the whole concept is becoming clearer for the ladies. Here we have one
designed to fit the ornament perfectly with the centre cutout so that you can see inside, except that we went on to put a Christmas greeting in the centre of the cutout after this photo was taken. There is also
gold embossing on the edges of the ornament. Everything looks so much better in real life.
However it's the pinwheel I wanted to talk about. Just a couple of weeks after I made this, I tripped over a video of Jennifer McGuires that she had done for Studio Calico and I thought it would show the class how they could take what they learned and grow it into something bigger, so here's what I made.
This ornament/wall hanging has a twelve inch span and can either hang from the top and spin as both sides are decorated, or it could hang on a wall with one side or the other showing. Jennifer showed just decorating one side, but I thought it would be neat to do both sides and with the right papers chosen it could be flipped after the Christmas season. I really didn't choose the right papers as the words on the burgandy paper are all Christmas words! However a smart person could. What you can't see too well is that on the reverse side what is in the centre is a small round mirror. I couldn't get a good photo angle without including myself in the mirror.

Now I'm not going to go through all the steps to making this as Jennifer has an excellent
tutorial right here . I
did make some changes to her directions which I will try to cover for you. One is that I didn't use Glossy Accents, I used
Scotch Glue. This is an excellent glue, but remember not to use to much as you will end up waiting for it to dry...you only need a little and then spread it around. For the
large back circle I didn't mix the papers and I cut four pieces - four inches wide. For the centre pinwheel, I cut three pieces - one and three quarters of an inch wide. To space the centre I put a jar lid in the middle and then
covered the space with a used CD, embellishing on top some more. The edge is Scotch Glue (Jennifer used Glossy Accents) with glitter sprinkled on it. I didn't glitter the back because I didn't want it to look so "Christmassy" (is that a word...LOL), and
I reversed the centre pinwheel to be opposite to the back of the large one.
Remember this is double sided paper, so there is
only one large pinwheel. For this ornament I only used
three sheets of double sided paper, some glue, glitter and embellishments for the front and a round mirror for the back. There is still
a great selection of Christmas paper in the store so drop in and see what you like.
For just a little over $7.00 this would make a great gift.
Have you been picking up some of the kits we mentioned in a recent blog? One person found the angels to be the answer to two group gifts that she often struggles over. So somthing like 40 angels later, her problems were solved!
We still have angels, nativity and Christmas tree kits that you can see if you scroll down two posts. Don't wait until they're all gone.
We've noticed a change in the crafters this Christmas as many more men are coming in to purchase product to make gifts. Families are once again exchanging names, only this year we are hearing more that the gifts have to be made not purchased. One man drew his seventeen year old grandsons name. The grandfather was in his eighties and it was at first a big challenge for him to come up with a gift. However after a walk in the bush and the find of a uniquely shaped piece of wood he's going to make a mantel clock for his grandson....how neat is that! Another man drew his wife's name for the family gift exchange and after a bit of thought and some trolling around the internet watching some you tube videos, he came in to purchase a set of Knifty Knitter Looms and he's making his wife a sweater! I'm telling you ladies, these men stretch high when they are challenged.

I almost forgot to show you the wreath we created last Friday late afternoon. Didn't take long to make at all and only used a small amount of felt to make the flowers and leaves and a small styrofoam wreath form wrapped in the ribbon of your choice. A sprig of berries and a few beads in the centre of the flowers finishes it off. The flowers are made by cutting a circle, then cutting through that circle in ever smaller spirals, then you wrap them around themselves to make the flower...easy peasy, and again for much less than $10.00 another quick (about an hour) and easy gift.
Well I didn't get my page finished, it's well under way, but not complete so you'll have to wait to see it. I've created a shape ready to cut out of my Silhouette and have another that is in the thought process still. Suffice it to say, it's not done....however all my Christmas cards are in the mail now and I have another sample craft to show you next blog.
Last but not least, hop over to the
Spellbinders blog here to see the competition they are offering.
You could be the winner of $5000.00 worth of Spellbinders product.


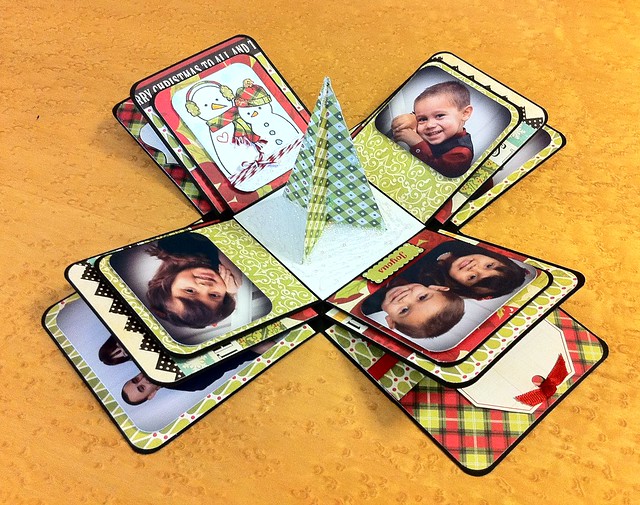 Rachel was busy at school today with her classmates making an explosion box and I believe Jonathan and his class will be making one later this week. I don't have a photo of what Rachel made today but we do have two samples in the store and here's another example I found.


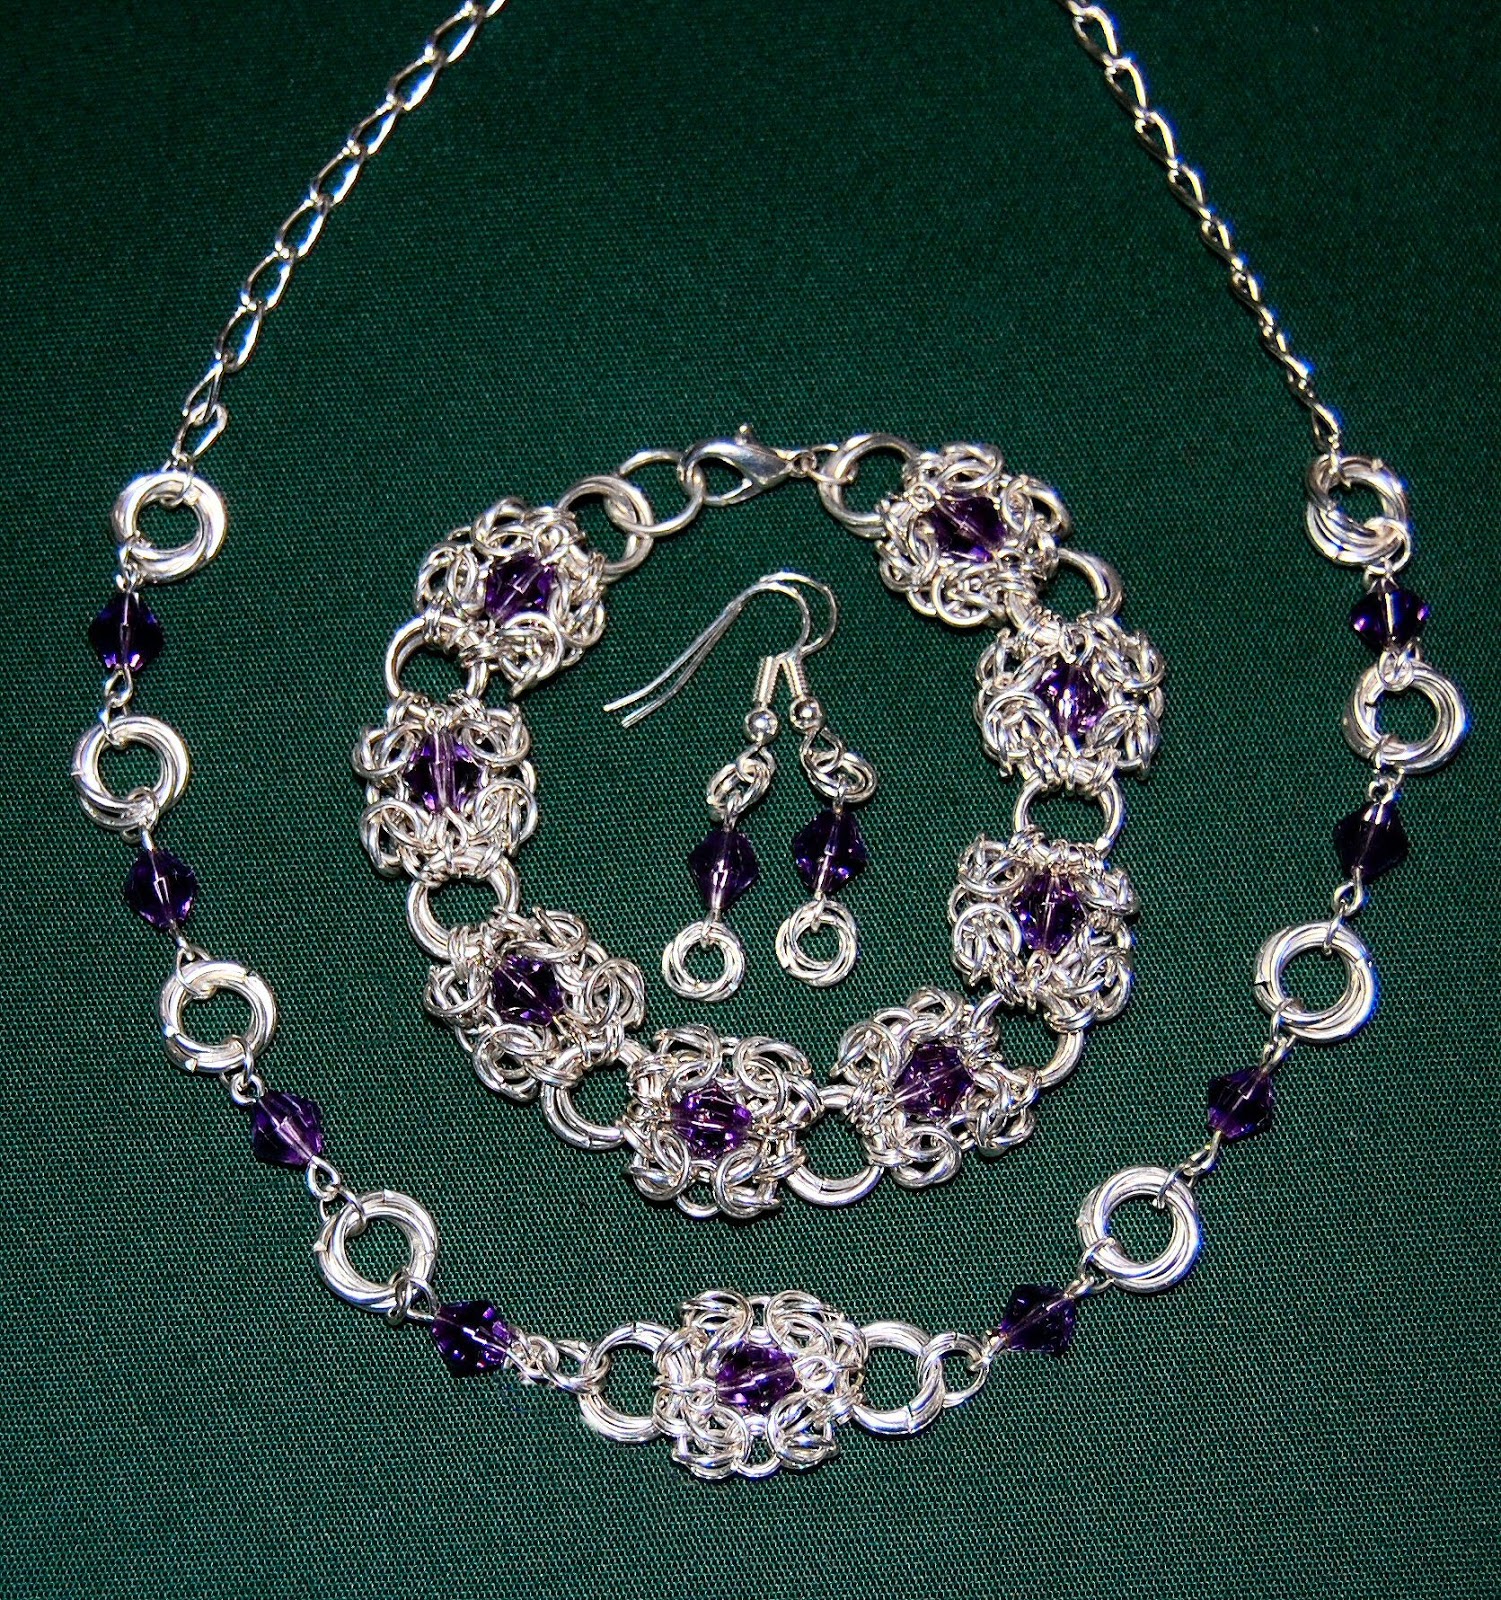

 Jump ring chain jewellery is something I like to make and though it's certainly not a quick gift, we do have a really good book in the store that teaches this style. Linda has it posted in the newsletter and if you mention that you saw this post on the blog, then you can purchase the book for 20% off regular retail price.
 I wanted to share a touching story with you and it's about my great-niece Brianna, shown here in this photo


