Christmas Ornament Tutorial:

Supplies:
5 - 3" square reversible patterned paper
2 - 1.5" square patterned paper
1 - large bead
1 - Piece of 1/8" ribbon approx 10" - 12" long
Glue Runner

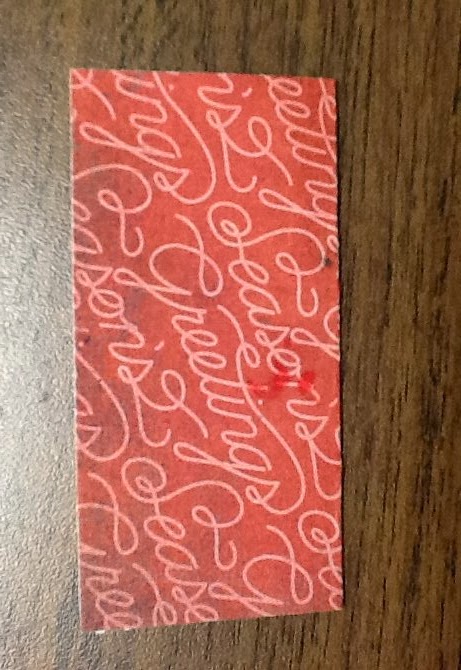
Here in the first step you see where we stamped an outline image on the less colourful side of our reversible paper.
We then coloured the image with our green and red Identipen markers
If the paper you choose is colourful on both sides, you can skip these steps.

The next step is to lay the paper down on the table having theside that you want to be the outside touching the table. We wanted thered to be the outside colour so our piece was laid red side down on the table and we then folded it horizontally as you see it.
Open that fold and fold again the opposite way (vertically).
 Open the fold again. Now turn your paper so that the pattern you want to be on the outside of your ornament (red for us) is now facing up from the table. Then fold from one corner to the other once only.
as you see it here.
 Flip your paper over so that thegood side (red for us) is facing up. Gently push the sides in so that you can fold this piece into a smaller square.
You are pushing on the diagonal fold that you made, and thehorizontal and vertical ones (first and second fold) will pop up.
See the picture to the right
Do this with all five pieces and you will have five 1.5" squares now.

The next step is to glue them on top of one another with the closed points all the same way.
Here you see a view of the inside of two squares glued together with the open ends to the left and right and the closed end down in the middle.


Slip the bead down as you see it here to close the ornament.
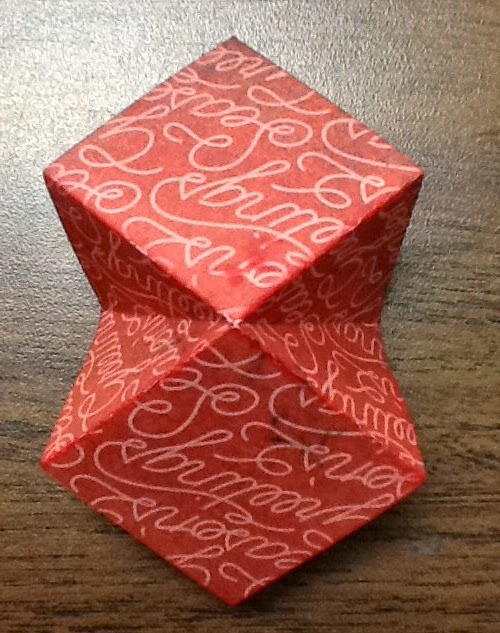
 The magic happens when you push the bead up the ribbon, then twist the ornament covers to touch each other.
 Now slip the bead back down and your ornament is open.
We went on to "dress" the ornament up with some gold stickles around the outer edges and on all the centre points too.
 Here you see a side on view where we stamped the image. To close your ornament, simply slide the bead up and close up the squares until your covers are again on the outside.
Drop in to the store to see the sample we worked
Enjoyed making these for my table favours, both Family Christmas dinner and my New Years party. I think I ended up making 28 altogether. Evelyn
ReplyDeleteI'm so pleased we took the time together to learn how easy they are to make...great job, Evelyn. I'm sure they were well received by all.
ReplyDeleteLilian